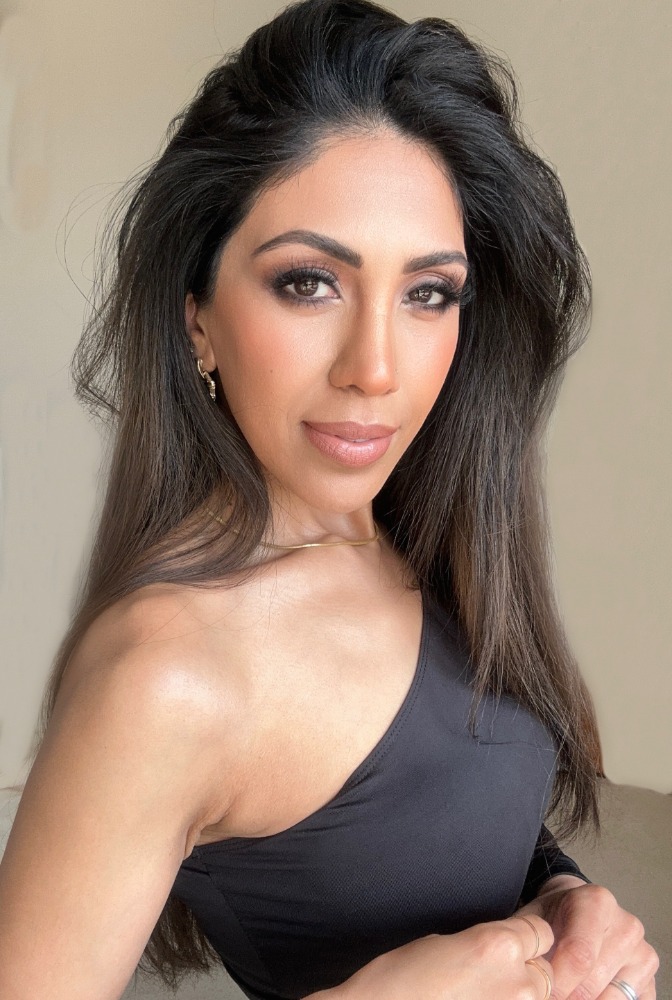
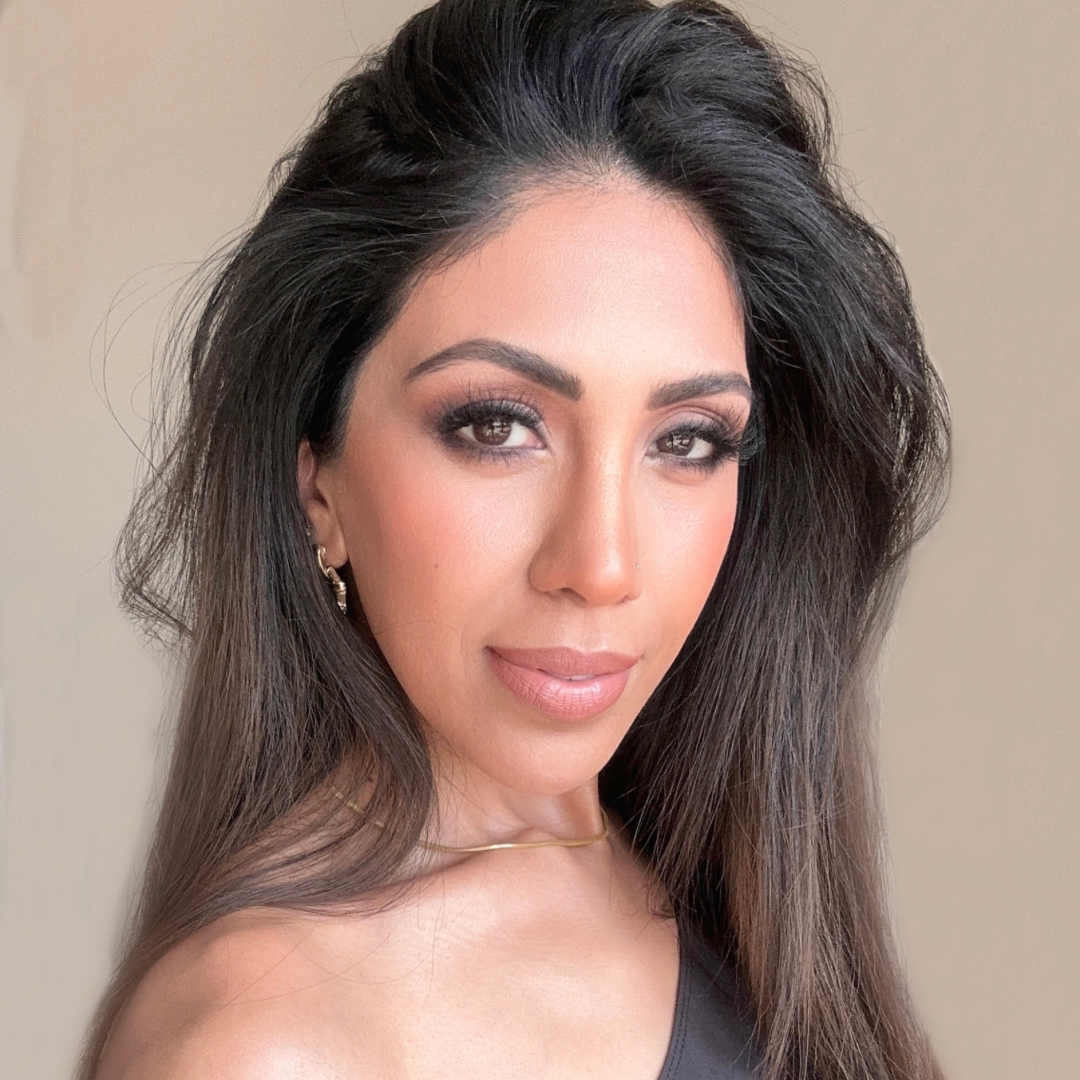
When it comes to makeup, simple makeup looks can often make the biggest impact. A natural and polished look not only enhances your features but also boosts your confidence.
Being a makeup artist for the last 20 years I’ve been able to explore and try so many makeup looks, with different types of makeup tips and tricks in application, from natural, dramatic, everyday and full on glam.
After experimenting with different makeup looks over the years I’ve narrowed it down to my favorite five.
These five makeup looks are my absolute favorites, and I wanted to share them with all of you because they make me feel amazing and confident. So, whether you’re attending a special occasion or simply want to feel your best for an everyday makeup look, I hope these looks inspire you to embrace simplicity and enhance your natural beauty. Let’s have fun experimenting and feeling effortlessly beautiful together!
1. Fresh-Faced and Dewy:

The Fresh-Faced and Dewy makeup look is all about achieving a youthful and radiant appearance. There’s something about a fresh-faced and dewy look that instantly makes me feel youthful and radiant.
Follow these steps to create this simple and elegant makeup look:
- Prep your skin: Start by cleansing your face and applying a hydrating moisturiser to nourish your skin and create a smooth canvas for makeup application. Allow the moisturiser to absorb fully before proceeding.
- Apply lightweight foundation or tinted moisturiser:
Choose a lightweight, sheer foundation or a tinted moisturiser that matches your skin tone. Apply it evenly all over your face using a makeup brush, sponge, or your fingertips. Blend it well to achieve a natural and even complexion. - Conceal imperfections:
Use a creamy concealer to cover any blemishes, dark circles, or redness. Apply a small amount directly to the areas you want to conceal and gently blend it in with your fingertips or a concealer brush. - Add a touch of blush:
To add a healthy flush of colour to your cheeks, opt for a peachy or rosy blush. Smile to identify the apples of your cheeks, then apply the blush with a fluffy brush, blending it upward towards your temples. Start with a light application and build up the colour gradually for a natural-looking flush. - Define your lashes:
Curl your lashes using an eyelash curler to open up your eyes and create a wide-eyed look. Then, apply a coat of mascara to your upper and lower lashes. Choose a mascara that provides length and separation for a more natural effect. - Tinted lip balm for a dewy finish:
Finish off the look with a swipe of tinted lip balm or a lip color that enhances your natural lip shade. Look for a product that offers hydration and a hint of colour to achieve a dewy and natural finish.
Remember, the key to the Fresh-Faced and simple makeup looks is to keep it light and natural. Embrace your natural beauty and let your radiant skin shine through. With this natural makeup look, you’ll achieve a youthful glow that leaves you feeling effortlessly beautiful.
2. Defined Brows and Rosy Lips

When it comes to framing my face, defined brows are a game-changer. I love using a brow pencil or a brow pen to fill in any sparse areas and shape my brows to perfection. This look is versatile and suits various occasions. It’s another one of my go to simple makeup looks.
Here are the steps to create the Defined Brows and Rosy Lips makeup look:
- Prep your face:
Start by cleansing and moisturising your face. Apply a primer to create a smooth base for your makeup and help it last longer. - Even out your complexion:
Apply your favorite foundation or tinted moisturizer to even out your skin tone. Blend it well using a makeup brush, sponge, or your fingertips. Conceal any blemishes or under-eye circles with a concealer. - Shape and groom your brows:
Start by brushing your eyebrows upward using a spoolie brush or a clean mascara wand. Use a brow pencil, pen or powder in a shade that matches your hair colour to fill in any sparse areas and define the shape of your brows. Make short, light strokes that mimic the natural hair growth to achieve a natural look. Pay attention to the arch and tail of your brows for a polished appearance. - Set your brows in place:
To keep your brows looking well-groomed throughout the day, apply a clear brow gel or a tinted brow gel that matches your brow colour. Brush the gel through your brows in an upward motion to set them in place and give them a neat and polished look. - Prepare your lips:
Exfoliate your lips gently using a lip scrub or a soft toothbrush to remove any dry or flaky skin. Apply a lip balm to moisturise your lips and create a smooth canvas for the lip colour. - Apply a rosy lipstick:
Choose a rosy lipstick shade that complements your skin tone. Start by lining your lips with a lip liner that matches the lipstick shade or is slightly darker. This will help define the shape of your lips and prevent the lipstick from bleeding. Fill in your lips with the rosy lipstick using a lip brush or directly from the tube. Blot your lips with a tissue and reapply another layer for longer-lasting colour. - Optional:
Add a touch of lip gloss: If you prefer a glossy finish, you can apply a sheer lip gloss in a complementary shade on top of your lipstick. This will add a subtle shine and dimension to your lips. Apply a small amount to the center of your lips and blend it out using your finger or a lip brush.
With well-defined brows and rosy lips, you’ll achieve a sophisticated and elegant makeup look. This combination adds a touch of femininity to your face while keeping the focus on your beautifully shaped eyebrows and subtle lip colour. Enjoy your polished appearance!
3. Classic Winged Liner and Red Lips

For those special events or you want to make a statement, nothing beats the timeless combination of a classic winged eyeliner and bold red lips. This simple makeup look can boost confidence and sophistication.
Here are the steps to create the Classic Winged Liner and Red Lips makeup look:
- Prep your face:
Start by cleansing and moisturising your face. Apply a primer to create a smooth base for your makeup and help it last longer. - Even out your complexion:
Apply your favorite foundation or tinted moisturiser to even out your skin tone. Blend it well using a makeup brush, sponge, or your fingertips. Conceal any blemishes or under-eye circles with a concealer. - Set with powder:
To ensure your makeup stays in place, lightly dust your face with a translucent powder to set the foundation and control shine. - Winged eyeliner:
Begin by lining your upper lash line with a black liquid or gel eyeliner. Start from the inner corner and gradually thicken the line as you move towards the outer corner. Then, create a wing by extending the liner slightly beyond the outer corner of your eye, angling it upwards towards the end of your eyebrow. You can use a piece of tape or a card to create a guide a precise wing. Fill in the shape, making it as thick or thin as desired. Repeat the process on the other eye, ensuring both wings are symmetrical. - Define your lashes:
Apply a coat or two of mascara to your curled lashes to make them stand out and complete the eye look. You can also opt for false lashes for added drama if desired. - Red lipstick:
Choose a classic red lipstick that suits your skin tone. Start by lining your lips with a red lip liner, following the natural shape of your lips or slightly exaggerating the cupid’s bow for a more defined look. Fill in your lips with the same red lip liner to create a base for your lipstick. Then, using a lip brush or directly from the tube, apply the red lipstick evenly to your lips. Blot with a tissue and reapply for long-lasting colour. - Blot and set:
After applying your red lipstick, blot your lips gently with a tissue to remove any excess product. This will help set the colour and prevent smudging. For extra longevity, you can lightly dust a translucent powder over your lips or use a lip sealant product. - Finishing touches:
Check for any smudges or uneven lines and clean them up with a cotton swab dipped in makeup remover. Use a clean spoolie brush to groom your brows and ensure they are well-defined. Lastly, use a setting spray to lock your makeup in place for a flawless finish.
The Classic Winged Liner and Red Lips makeup look is timeless and exudes confidence. With a sleek winged eyeliner and bold red lips, you’ll achieve a striking and glamorous appearance that is sure to turn heads. Enjoy your stunning look!
4. Soft Smoky Eyes
When I want a bit of drama without going overboard, a soft smoky eye does the trick. I feel my eyes appear sultry and alluring with this look and I always feel my eye makeup is on point with this look, I keep the rest of my face fresh and natural to let the eyes take center stage.
Here are the steps to create the Soft Smoky Eyes makeup look:
- Prep your eyelids:
Start by applying an eyeshadow primer or a thin layer of concealer to your eyelids. This will help your eyeshadow adhere better and prevent creasing. - Apply a base eyeshadow:
Choose a neutral eyeshadow shade that is slightly lighter than your skin tone. Apply it all over your eyelids as a base colour to even out the skin tone and create a smooth canvas for the smoky eye look. - Define the crease:
Pick a medium-toned eyeshadow shade in a cool or warm tone that complements your eye colour. Use a fluffy blending brush to apply the eyeshadow to the crease of your eyelid. Blend it back and forth in windshield-wiper motions to create a soft, diffused effect. Make sure to blend well to avoid any harsh lines. - Add depth with a darker shade:
Choose a darker eyeshadow shade in the same colour family as the one used in the crease. Apply it to the outer corner of your eyelid, blending it inward towards the center of the lid. Focus the colour on the outer V shape to create dimension and depth. Blend it well with the crease shade for a seamless transition. - Softly line the upper and lower lash lines:
Use a dark brown, black or gray eyeshadow to softly line your upper and lower lash lines. Apply the eyeshadow with a small angled brush, keeping the line close to the lashes. Use short, light strokes and blend the eyeshadow gently for a smudged effect. This will define your eyes without creating a harsh line. - Highlight the inner corner:
To brighten up your eyes, apply a shimmery or light eyeshadow shade to the inner corners of your eyes. This will make your eyes appear more awake and add a subtle pop of light to the smoky look. - Curl your lashes and apply mascara:
Curl your lashes with an eyelash curler to open up your eyes. Then, apply a coat or two of mascara to your upper and lower lashes. Wiggle the mascara wand at the base of the lashes and then sweep it upward for volume and length. Consider using a mascara that provides a smudge-proof or waterproof formula for long-lasting wear. - Optional:
Tightline your upper lash line: For added intensity, you can tightline your upper lash line. Use a waterproof eyeliner pencil in a dark shade and carefully apply it along the upper waterline. This will create the illusion of thicker lashes and further define your eyes. - Clean up any fallout:
After completing the eyeshadow application, use a clean brush or a makeup wipe to remove any fallout or excess eyeshadow that may have fallen on your under-eye area. This will ensure a clean and polished look. - Complete the look:
Finish off your Soft Smoky Eyes look by applying your preferred complexion products, such as foundation, concealer, and blush. Keep the rest of your face makeup subtle to let your eyes take center stage.
Soft Smoky Eyes offer a sultry and romantic look that is perfect for evenings or special occasions. With these steps, you’ll achieve a smoky effect that is soft, blended, and alluring. Have fun experimenting with different eyeshadow shades to create your desired look!
5. Minimalistic Glam

Sometimes, less is more, and that’s where the minimalistic glam look comes in, a simple makeup look, you can’t go wrong with. It enhances my natural glow, the perfect balance of elegance and simplicity.
Follow these steps to create the Minimalistic Glam makeup look:
- Prep your skin:
Start by cleansing your face and applying a moisturiser that suits your skin type. Allow it to fully absorb before moving on to the next step. - Create a flawless base:
Apply a lightweight foundation or a tinted moisturiser that matches your skin tone. Use a makeup brush, sponge, or your fingertips to blend it evenly all over your face. Make sure to focus on areas that need more coverage, such as redness or blemishes. Use a concealer to cover any remaining imperfections. - Enhance your natural glow:
Apply a subtle highlighter on the high points of your face, such as the cheekbones, brow bone, and the bridge of your nose. Choose a highlighter shade that complements your skin tone and has a natural sheen. Use a light hand to achieve a soft and natural glow. - Define your lashes:
Curl your lashes with an eyelash curler to open up your eyes. Then, apply a coat of mascara to your upper and lower lashes. Choose a mascara that provides length and separation for a more natural effect. Make sure to comb through your lashes to avoid any clumps. - Keep the eyeshadow minimal:
Opt for a neutral eyeshadow shade, such as a soft beige or a light taupe. Apply it to your eyelids using a fluffy brush for a subtle wash of colour. Focus on creating a soft and diffused look that enhances your eyes without being too dramatic. - Natural-looking brows:
Use an eyebrow pencil or powder that matches your brow colour to fill in any sparse areas and define your brows. Make short, light strokes to mimic the appearance of natural hair. Brush through your brows with a spoolie brush to blend the color and achieve a natural finish. - Soft blush:
Choose a blush colour that complements your skin tone, such as a soft pink or peachy shade. Smile and apply the blush to the apples of your cheeks using a blush brush. Blend it outwards towards your temples for a subtle flush of colour. Remember to keep the application light for a minimalistic effect. - Subtle lips:
Opt for a lip colour that enhances your natural lip shade. Choose a nude or soft pink lipstick or lip gloss for a natural-looking pout. Apply it directly to your lips or use a lip brush for more precise application. Blot your lips with a tissue for a softer and more natural finish. - Set your makeup:
To ensure your minimalistic glam look lasts longer, lightly dust your face with a translucent setting powder. This will help control shine and keep your makeup in place throughout the day. - Finishing touches:
Take a moment to check your makeup for any touch-ups. Ensure everything is well blended and polished. Carry a makeup compact with you for any necessary touch-ups throughout the day.
The Minimalistic Glam makeup look focuses on enhancing your natural features while adding a touch of radiance and elegance. With a flawless base, defined lashes, and subtle touches of colour, you’ll achieve a polished and effortless appearance. Enjoy your minimalistic glam look!
Summary:
Simple and elegant makeup looks can enhance your natural beauty and leave you feeling confident and radiant. Whether you prefer a fresh-faced glow or a subtle smoky eye, these five looks provide versatile options for various occasions. Remember, the key is to enhance your features while maintaining a polished and effortless appearance. So, embrace simplicity, experiment with different styles, and find the makeup look that makes you feel your best.
I hope you find these makeup looks helpful! Enjoy experimenting and feeling effortlessly beautiful.